
In this post I am going to discuss how I was inspired by videos I saw, and how I used those ideas to create my own. I made two videos in July-August, 2019, for the convocation exercises at Goochland County Public Schools.
Tools: iPhone 8 (set at 24fps/4K), iPad Pro, two lights, green screen; Canon 7D
Editing: Final Cut Pro X on MacBook Pro
Background
Earlier this summer I experienced videos produced by Apple. One was a video of students sharing anecdotes about teachers. The flavor of the video was humorous and uplifting, and the students were shot against a lit, white backdrop, seated on a plain stool. All the focus was placed on the students and the shot reminded me a lot of Apple’s famous media campaign of Switchers, shot against a white background. (In the Switchers commercials, the talent was standing).
I produced a video of students talking around the topics of creativity and learning. None of the recordings were rehearsed or written out. In some cases, after hearing what students shared, I re-stated their responses in a more concise way and had them repeat that. Students stood against the backdrop of a green screen.
In another video Apple produced, they captured the perspectives of teachers. Again, the feeling was uplifting and the stories captured helped convey a positive feeling about teaching and learning. In this video, also against a light background, the talent was treated with some kind of filter. I can best describe the filter used as squiggly lines in a limited tonal palette. It looked very creative and I hadn’t seen this effect used before, nor was the filter used something I could easily identify. The video also included moving text effects, as if the words were being written out in beautiful cursive.
In my video capturing teacher voices, I wanted to hear why teachers liked working in our school division. The stories were not rehearsed or written out. I had subjects sit in a low-backed chair.
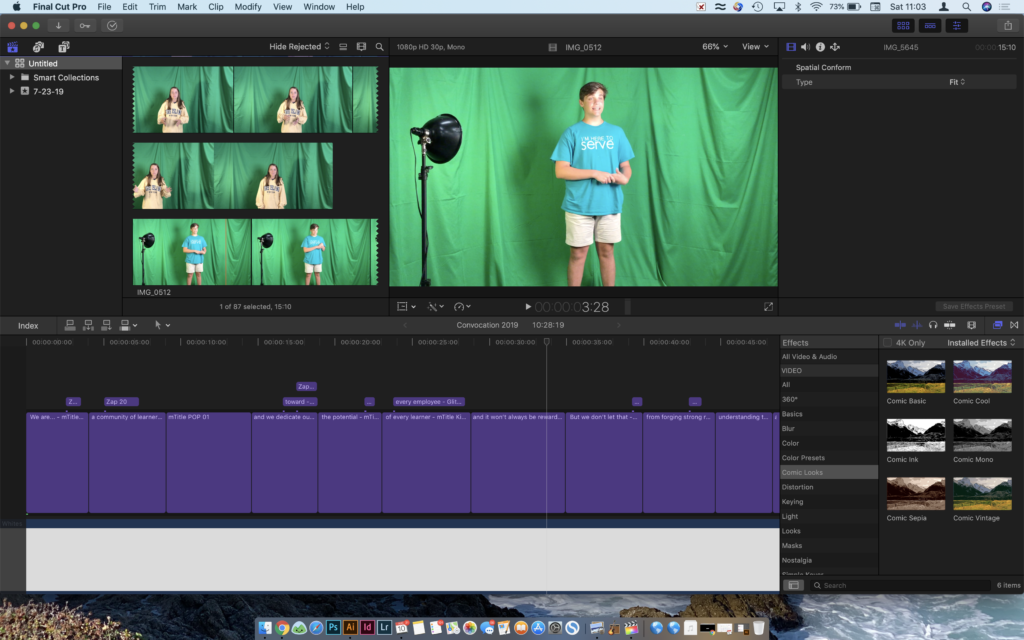
In both videos, I had a second camera person capture the shots with an iPad Pro for secondary shots. Audio was used from the iPhone recording.
Emulating Another Video Production—Why?
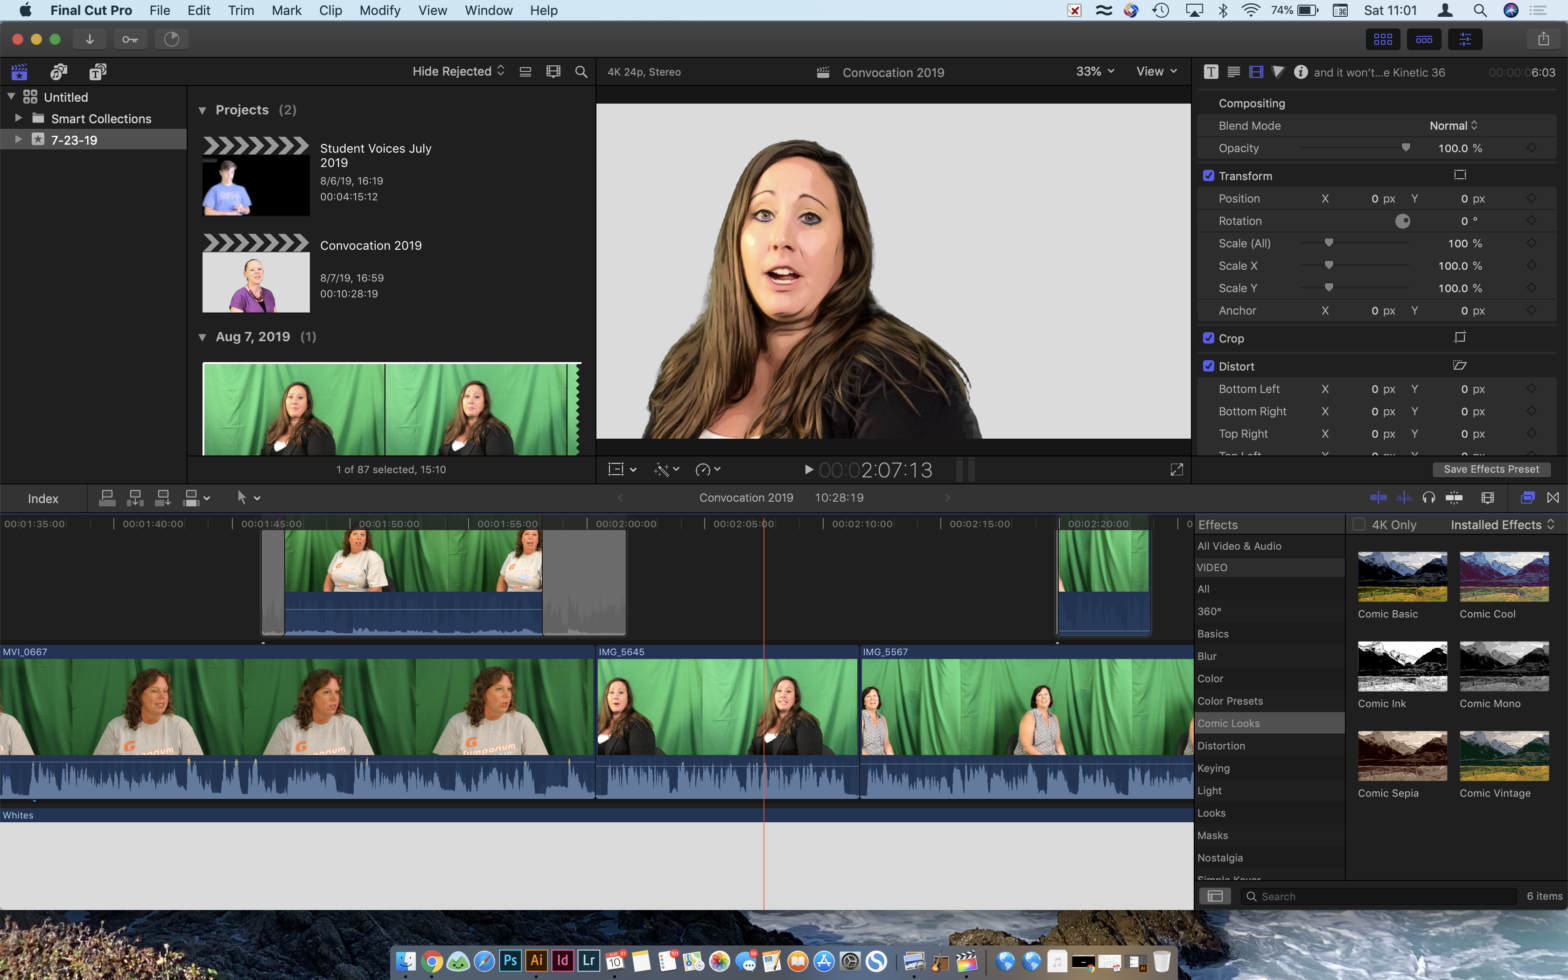
I’ve done a lot of video projects. Less than a year ago I captured student voices against backdrops at the school; a brick wall, outside, against the backdrop of the football field, in the school’s learning commons. The shots did as much to convey the school as they did diverse student opinions. The shots, however, felt somewhat naive, with both background and the subject being in good focus. In hindsight, I would have liked to have used a different aperture setting to blur the background somewhat. The picture below captures the major aesthetic of my video: the comic filter is used to manipulate the talent and the background is white, but not bright white. This allowed contrast with, in this case, the teacher’s outfit.

When I saw the videos produced by Apple, I realized how in their removal of any backdrop or distraction, the words and ideas conveyed by the talent was very clear and direct. The videos also made an impression on me in how they were different than most I’ve seen with people talking. The teacher video was creative in an interesting way. For better or worse, I tried emulating some of these ideas, to carry some of their strengths in our own work. Focus on the honest words of real people and take away distractions.
My videos helped put the emphasis on the people and their words even though they are bound by the location where they work or attend school. Using an improvised green screen, you can see shadows in the screenshot below. I used the selection of multiple parts of this green screen using Final Cut’s keyer effect.

Green Screen
Without having a pristine white backdrop and excellent lighting for capturing our voices, we used a green screen. In one video I replaced the background with an off-white backdrop; in the other, I replaced the background with a nearly black gradient from dark gray to black. Comments were that both were interesting. The student video used the black background; the teacher video used white.
I used a two light setup on the talent. A soft professional video light lit the scene and a smaller spot light lit the face of the talent from the side.
To produce the filtered look I had remembered from the Apple video, I played around with a lot of different settings within Final Cut Pro. None of them came close to the effect I was after, however I decided that a combination of the halftone filter and the comic effects gave an interesting enough change to the appearance of the talent. At full opacity, these effects were too artificial. But when the blending level was set between 25-35%, the effect was subtle enough to convey that “artsy” look without making things appear silly.
Without any halftone filter, I used the comic effects on the student video as well. Students appeared against a mostly dark background, using a subtle gradient.
Other Elements
Talking heads the whole time might make for a boring video. In the introduction to my student video, I used the secondary footage shot with the iPad and Canon cameras to show the filming taking place in situ, with the green screen unaltered. This served as an introduction to show that we’d pulled in students to share their stories.
In the teacher video, I started with text effects in the video and music to help set the stage. The video was designed to help viewers gain perspective that together, we are all focused on the same thing. The introduction of the first teacher when it happens is a little bit of a surprise after 1.5 minutes of moving text.
The video ends with teachers talking about our Core Values. To segue between the teacher “interviews” and the perspectives on core values, we used drone footage taken above our different schools, some capturing students and moving buses over the past school year. This helped, I thought, ground the diverse perspectives and show they come from across our five schools.
Mistakes and Lessons Learned
The audio from the iPhone was tainted by the sound of the video light. I used digital audio filters and settings within Final Cut to improve the sound, but use of a better quality microphone system would have been ideal. Without someone to hold a boom mike over the talent, the placement of a digital stereo microphone (such as the kind by Zoom that records to compact flash or SD card) would have been adequate, off screen. Finally, use of an all iPhone setup with a clip-on microphone to Bluetooth would have worked too, although you would have seen that in the video.
Using the backup cameras (iPad Pro and Canon 7D) at different resolutions and frame rates was not ideal. While the sound from the Canon, without an extra mike was not bad, it is a difficult camera to use for video because there is no auto-focus. (In this case, having shots that didn’t really move made the process easier.) The iPad’s camera was not nearly as good, nor could it shoot at the same settings as the iPhone camera. Ideally, using two iPhones would have been superior.
Mixing video footage from the different sources was relatively easy to do in Final Cut Pro.
While I am very happy with the content of these videos, and have an excellent tool in Final Cut Pro, I am looking forward to improving the quality in the future. A lot of folks on YouTube are not using iPhones, even though you can shoot feature films with the device. This guide is but one on some recommended camera upgrades and includes information on microphones, too. And if you’re going to capture moving scenes, and not stationary people as I did in this video, DJI’s new gimbal, the Ronin-SC, looks to be a great choice, especially if you have an auto-focus video-capable DSLR. Their Osmo line would no doubt be ideal using an all iPhone setup.